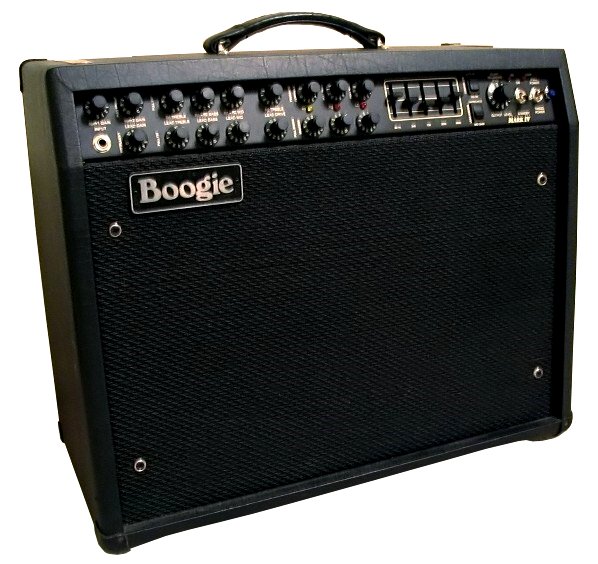
Setting up a guitar amp can be a daunting task for beginners, but with a few simple steps, you can have your guitar amp set up and sounding great in no time. Whether you’re looking for an authentic live sound or a more recorded studio sound, understanding the principles of setting it up properly can allow you to achieve great results. In this blog post, we will look at the basics of setting up a guitar amp for beginners.
We’ll cover the essentials that you need to know for basic amp setup and sound optimization. We will also provide tips and tricks to get the most out of your guitar amp setup. By the end of this post, you’ll be up and running with your guitar amp and ready to start playing. So let’s get started and take a look at how to set up your guitar amp for beginners.
1. Place the amp in an open space
The first step to setting up your guitar amp is to find an open space. You want to make sure that the space is large enough so that the amp can be placed far enough away from the wall so that sound can travel freely. Make sure to also avoid any furniture that might block sound waves or muffle the sound. This will ensure that your sound is crisp, clear, and full.
2. Connect the guitar to the amp
The next step in setting up your guitar amp is connecting the guitar to the amp. First, find the guitar cable that usually comes with the guitar and insert it into the guitar’s output jack. Then take the other end of the cable and plug it into the guitar input on the amp. Make sure it is securely plugged in and that the connection is tight. When you are done, your guitar is now connected to the amp, and you are ready to start playing.
3. Adjust the amp’s volume and tone
Now that the cables are in place and your guitar is connected to your guitar amp, it is time to adjust the amp’s volume and tone. It is important to note that different amps have different controls, so make sure to consult your amp’s manual to find out which controls are which. Start by turning up the volume to a level that is comfortable to your ears. Then, adjust the tone to match your desired sound. If your amp has controls for treble, mid, and bass, start by adjusting the treble and then move on to the mid and bass. Remember to take your time and play with the settings until you find your desired sound.
4. Place the microphone correctly
When setting up your guitar amp, one of the most important steps is to place the microphone correctly. The microphone should be placed around 6-12 inches away from the speaker cabinet. If you stand too close to the amp, it will cause the sound to be distorted. Additionally, make sure the microphone is pointed at the center of the speaker. If the microphone is placed off-center, the sound won’t be balanced. It’s also important to ensure that the microphone is at a 90 degree angle to the speaker. This will ensure that you capture the full range of sound from the speaker.
5. Tweak the settings to your liking
After you’ve decided on your amp model, you can tweak the settings to your liking. The controls you’ll want to adjust are the gain, volume, and EQ. Start by setting the gain to a low level and use the volume to control the loudness of the sound. Then, use the EQ knobs to shape the tone to your taste. As you experiment with the settings, pay attention to the overall sound. You can always adjust the settings until you get the desired sound.
Conclusion
Setting up your guitar amp for the first time can be a daunting task, but with a bit of patience and practice, you can become a pro in no time. From learning the basics of amp setup to adjusting the volume and tone, there are many options for customizing your sound. Remember to always start with the basics and work your way up from there. With a little bit of practice and perseverance, you can have your guitar amp sounding great in no time!

